
Tooth Fairy Pillow Tutorial

I’m still sick as a dog and working my TAIL off to finish the massive 3-part cruise/travel post (that you don’t want to miss so stay tuned!). I’m SO CLOSE to being done. To keep myself focused I enlisted the help of our new DIY/Crafting contributors form Find it Make it Love it to help with this adorable craft today…an easy DIY Tooth Fairy Pillow that makes a visit from the Tooth Fairy oh-so-fun! (…and really super cute. anyone dying yet?) Anyway, take it away, girls!
Oh, the job of the tooth fairy. Rummaging under pillows for the scrunchy, loud Ziploc bag with the baby tooth and leaving behind a small treasure, all without disrupting the sleeping child. We’ve come up with this little tooth fairy pillow that makes the job a whole lot easier! The tooth goes into the ‘tooth’ opening, then the tooth fairy makes the exchange; quietly, and easily! It’s super cheap, super simple, and super cute!
Here’s what you need:
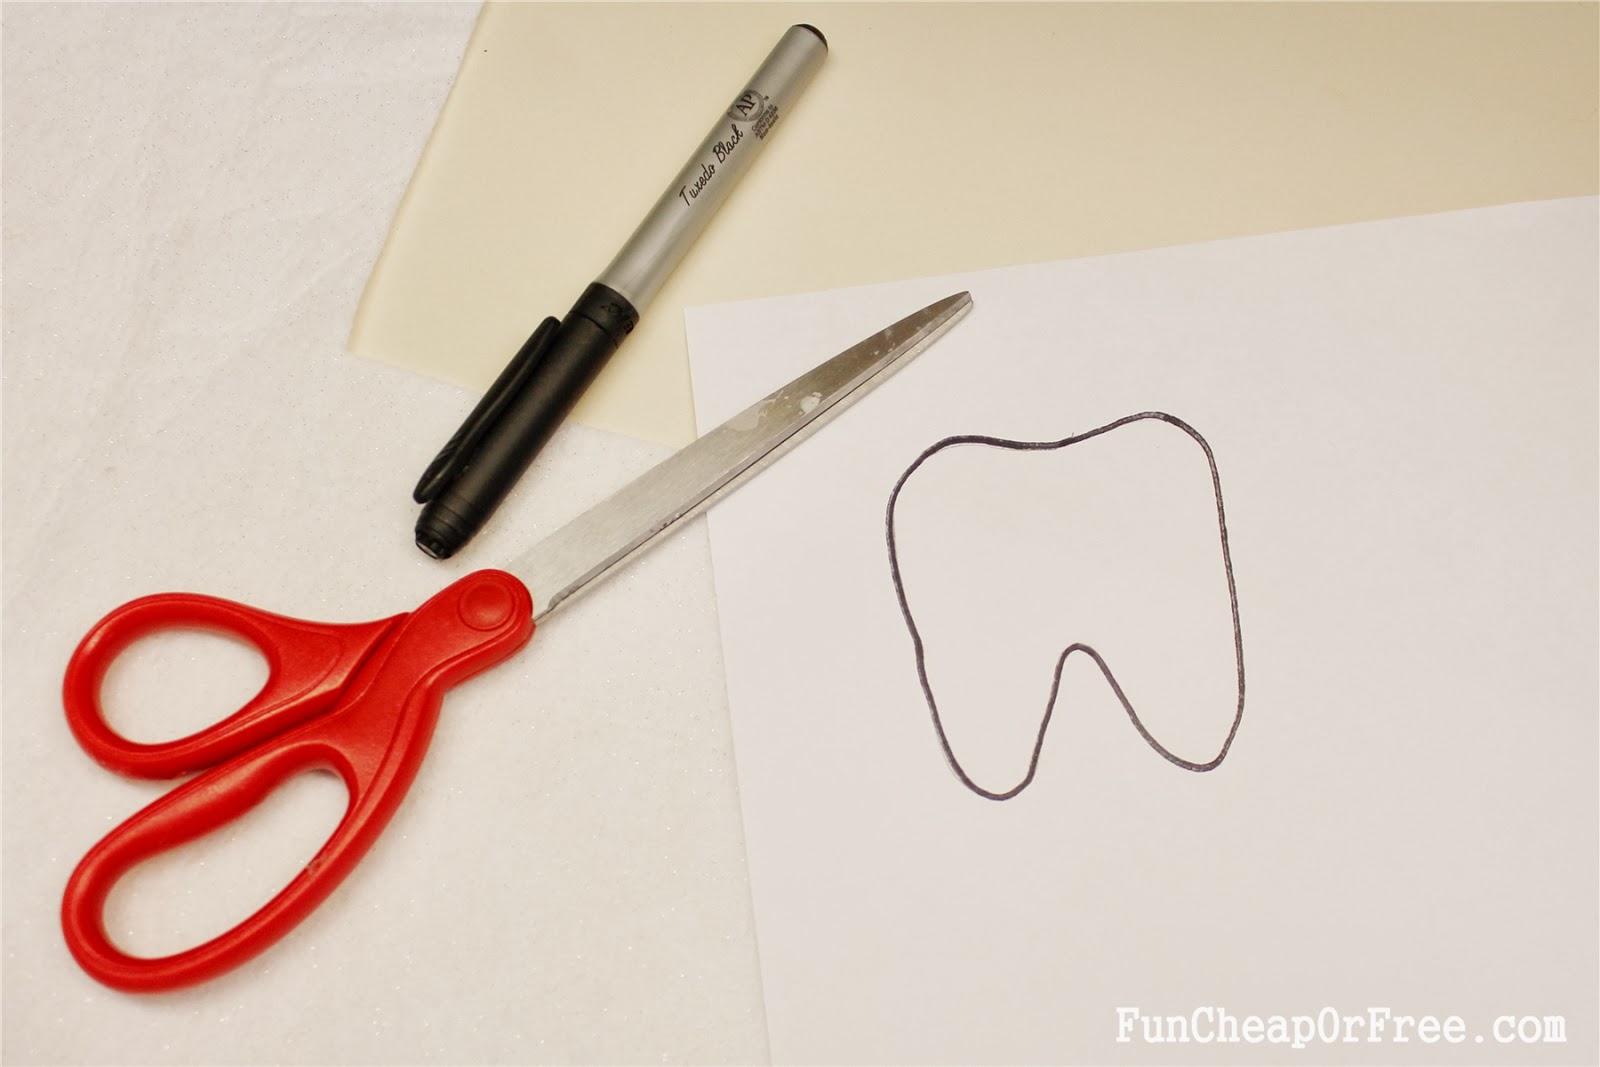
- Tooth template (ours is just hand drawn)
- 4″ by 4″ piece of white felt
- Two 5″ by 5″ pieces of fabric
- Batting
- Pinking Shears
- Sewing Machine
Here’s how you do it:
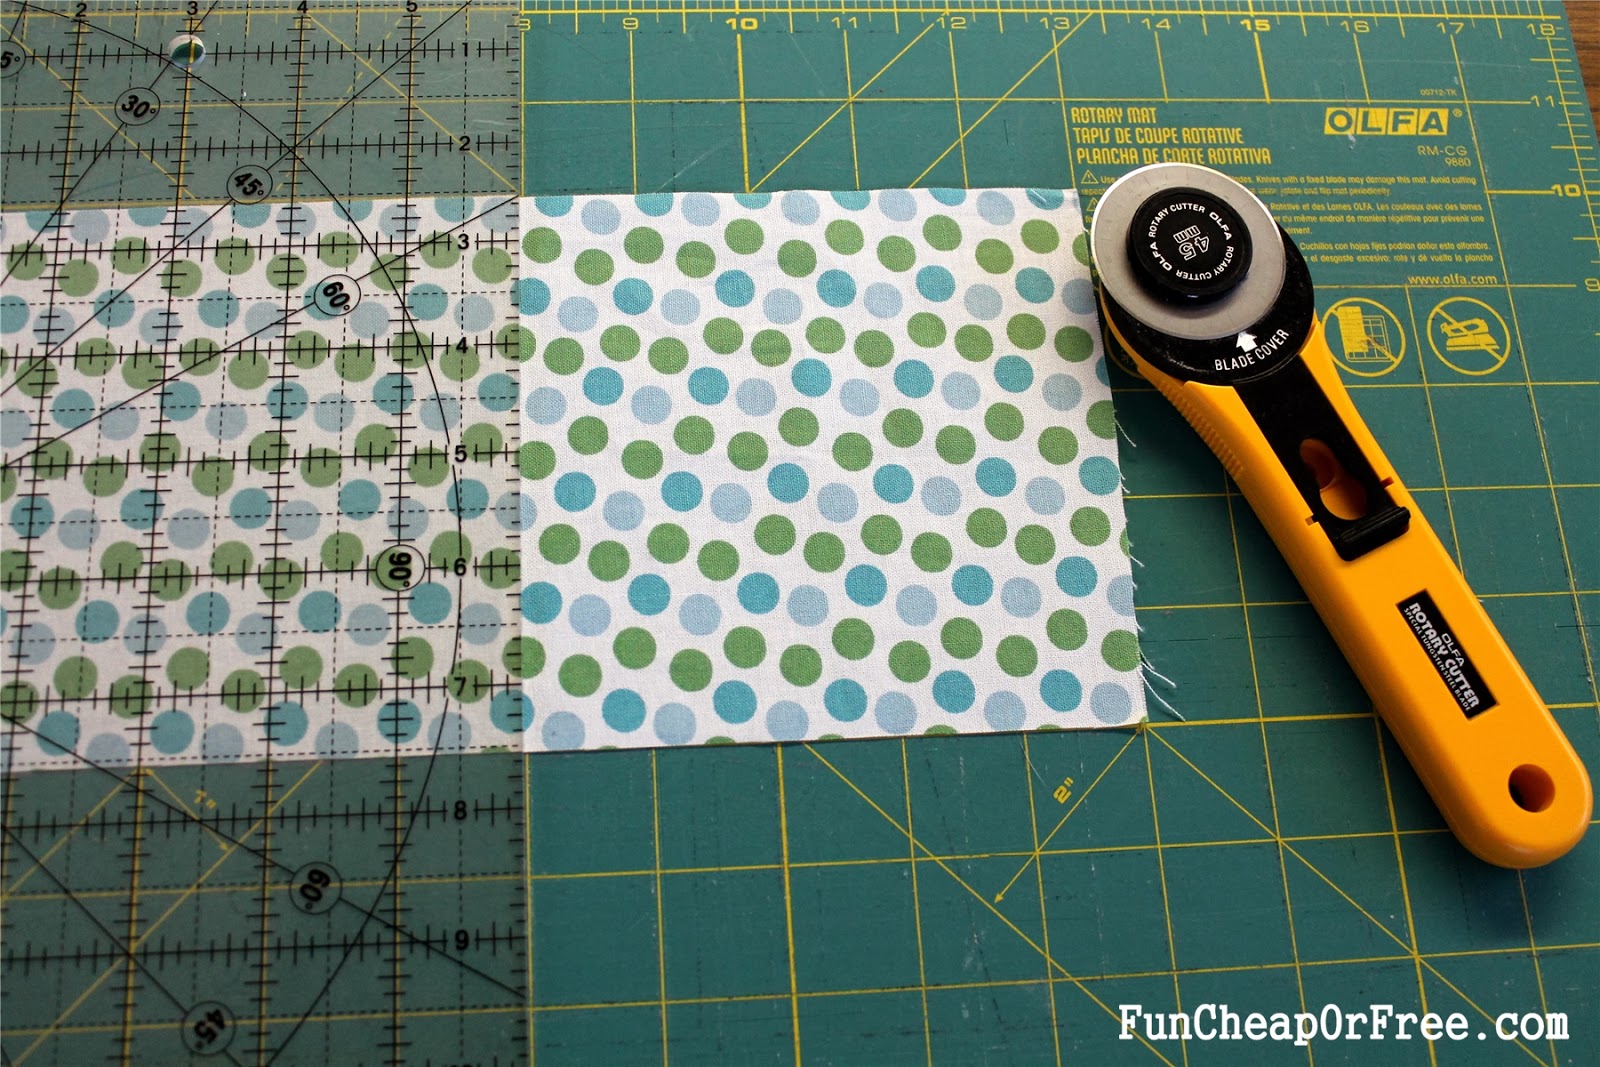
Next, cut out two pieces of fabric 5″ by 5″. This is the perfect project for using up scrap fabric!

Pin and sew around the tooth. Be sure to leave the top OPEN for the tooth and tooth fairy money!


Last, use pinking shears to trim around the edges. Not only does it look super cute, it also prevents fraying!
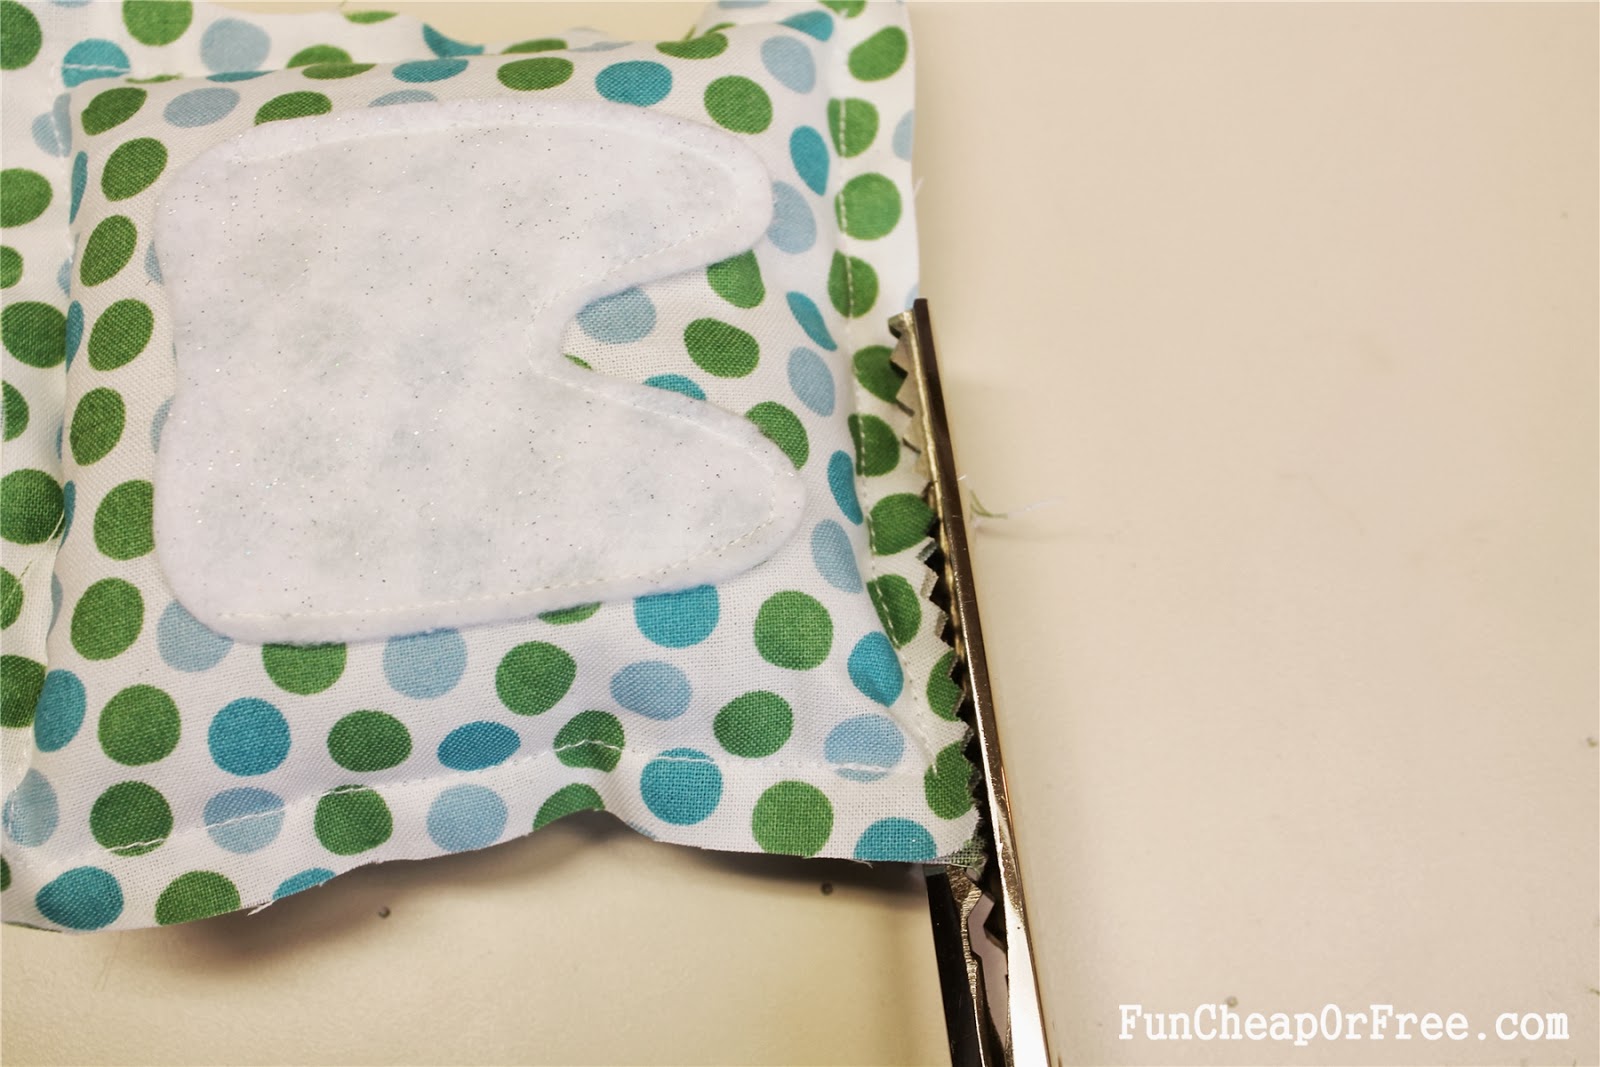


Now when the teeth start coming out, you’ll be ready! No more fumbling with a Ziploc bag! It doesn’t even need to go under the pillow – our kids are happy to just set it next to their bed, making the tooth fairy’s task even easier. : )